
How To
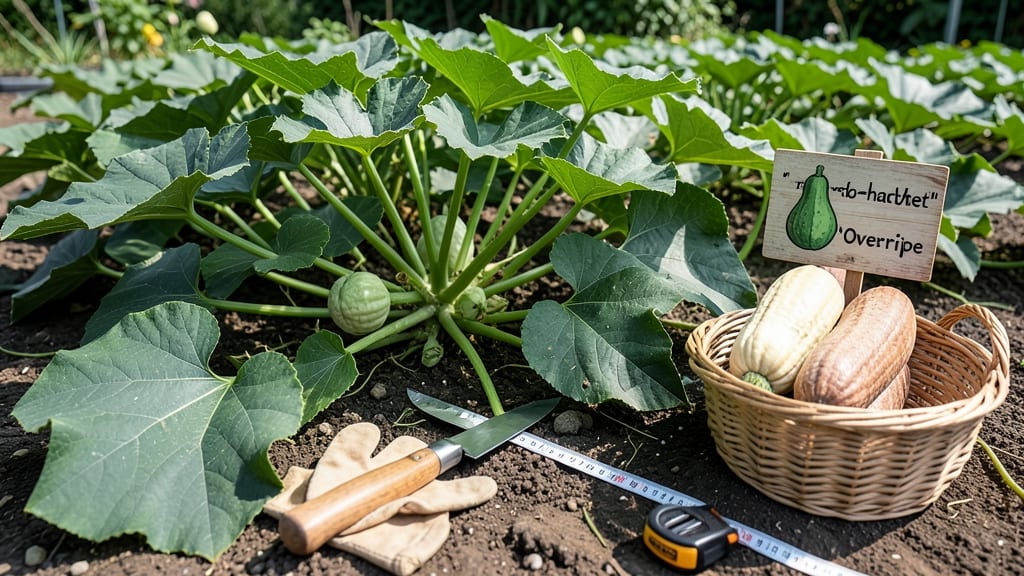
Harvesting bottle gourds 🎃 at the right moment ensures you get the crisp, flavorful fruits you’ve been waiting for.
Picking too early means underdeveloped, watery gourds, while waiting too long turns them bitter and tough—neither is ideal. The key is knowing when the gourds hit that perfect balance of size, color, and firmness, and I’ll show you exactly how to spot it.
Whether you’re growing in USDA Zone 6a or a warmer climate, the timing matters. Late summer to early fall is prime harvest season, but the exact moment depends on three visual cues that I’ll break down so you never miss it.
Once you master these signs, you’ll not only enjoy the best-tasting gourds but also extend their shelf life. Below, I’ll walk you through the three must-check indicators and how to avoid common mistakes that ruin your harvest.

3 Visual cues to identify perfectly ripe bottle gourds
Harvesting bottle gourds at the right moment transforms your garden bounty from good to exceptional. The key lies in recognizing three visual cues that signal peak ripeness: color development, skin firmness, and optimal size.
Ignoring these signs often leads to gourds that are either underdeveloped or overripe, compromising both flavor and storage potential.
I’ve learned through years of growing bottle gourds that timing is everything. A gourd picked too early will be watery and bland, while one left too long on the vine becomes tough and bitter.
Mastering these visual cues ensures you harvest gourds that are crisp, sweet, and perfect for eating fresh, storing, or even carving.
Let’s break down each cue with expert insights to help you confidently identify the perfect moment to harvest your bottle gourds.
- 1 Color Transformation: Look for a deep, consistent hue—typically cream, yellow, or green depending on the variety. The skin should no longer have pale patches and should appear uniform and vibrant.
- 2 Skin Firmness: Press your fingernail into the gourd’s skin. If it doesn’t dent easily and feels hard and thick, it’s ready. A soft or dented skin means it’s not yet ripe, while a wrinkled or overly dry skin signals overripeness.
- 3 Optimal Size: Bottle gourds typically reach 6 to 12 inches in length at peak ripeness. Smaller gourds (under 4 inches) are usually underdeveloped, while larger ones may be overripe or hollow. Measure your gourds to ensure they’ve reached their mature size for your specific variety.
Don’t overlook the stem condition as a bonus cue. A gourd ready for harvest will have a stem that’s slightly dried at the base but still attached. If the stem is completely dry or fallen off, the gourd may have hollowed out inside, reducing its quality.
In my garden, I’ve noticed that morning harvests often yield the freshest gourds because the cooler temperatures help preserve their crispness. Use a sharp pruning shears or knife to cut the gourds from the vine, leaving about 1 inch of stem attached to extend their shelf life.
Regional climates can slightly alter these cues. In tropical zones, gourds may ripen faster due to longer growing seasons, while temperate climates might require a few extra weeks. Always adjust your harvesting timeline based on your local last frost date and average summer temperatures.
Once you’ve mastered these visual cues, you’ll consistently harvest bottle gourds that are bursting with flavor and ideal for your favorite recipes or storage methods. The secret lies in observation and timing—two skills that every gardener can refine with practice.
Pro tip: Store your freshly harvested gourds in a cool, dry place (around 50-55°F) to maintain their freshness for up to 2 weeks. For long-term storage, consider curing them in the sun for a few days before drying.
Now that you’re equipped with these expert tips, your next bottle gourd harvest will be nothing short of perfect—crisp, flavorful, and ready to impress! 🎃
Common harvesting mistakes that ruin bottle gourds
Harvesting bottle gourds too early or too late can turn your hard work into a bitter, mushy disappointment. Many gardeners make simple mistakes like ignoring skin firmness or waiting until the gourds are overripe.
These errors lead to soft spots, hollow centers, or even wasted effort when the gourds fall off the vine prematurely.
One of the biggest blunders is assuming all gourds ripen at the same time. In reality, size variations and uneven maturity are common. A gourd that looks ready might still be weeks away from peak flavor, while another might already be past its prime.
Understanding these visual and tactile cues is key to avoiding these common pitfalls.
⚠️ Harvesting Too Early or Too Late
Waiting until the stem dries completely ruins flavor, while picking too soon leads to underdeveloped seeds and thin flesh. The ideal window is when gourds are firm, hard-skinned, and 6-12 inches long—but before the stem turns brown and crispy.
Overripe bottle gourds develop soft spots and hollow centers because their flesh breaks down as sugars convert to starches. This makes them unfit for cooking or storage. To prevent this, check gourds weekly once they reach 4 inches.
A simple fingernail test—pressing gently—reveals readiness: if the skin doesn’t dent, it’s time to harvest.
Another mistake is harvesting when the gourds are still attached to the vine with a green stem. This can cause rotting at the stem end during storage.
Always leave a 1-inch stem attachment when cutting to preserve freshness. Use clean, sharp pruners to avoid crushing the gourd or spreading disease.
If you notice uneven ripening on the same vine, prioritize harvesting the largest, hardest gourds first. Smaller gourds may need 2-3 more weeks to mature. In hot climates, gourds ripen faster—sometimes in as little as 60 days—while cooler regions may take up to 100 days.
Adjust your harvesting schedule based on your local climate.
For gourds that develop hollow centers, the damage is often irreversible. To avoid this, ensure your plants receive consistent watering and balanced fertilization during fruit development. Overwatering or sudden drought stress can also trigger premature ripening, leading to poor-quality gourds. Monitor soil moisture and adjust your watering routine accordingly.
Finally, never store freshly harvested gourds in the refrigerator—they thrive in cool, dry conditions at 50-55°F with good airflow. Proper curing for 7-10 days in a shaded, ventilated area extends shelf life and enhances flavor.
With these tips, you’ll avoid the most common harvesting mistakes and enjoy perfectly ripe bottle gourds every season. 🎃