
Picking
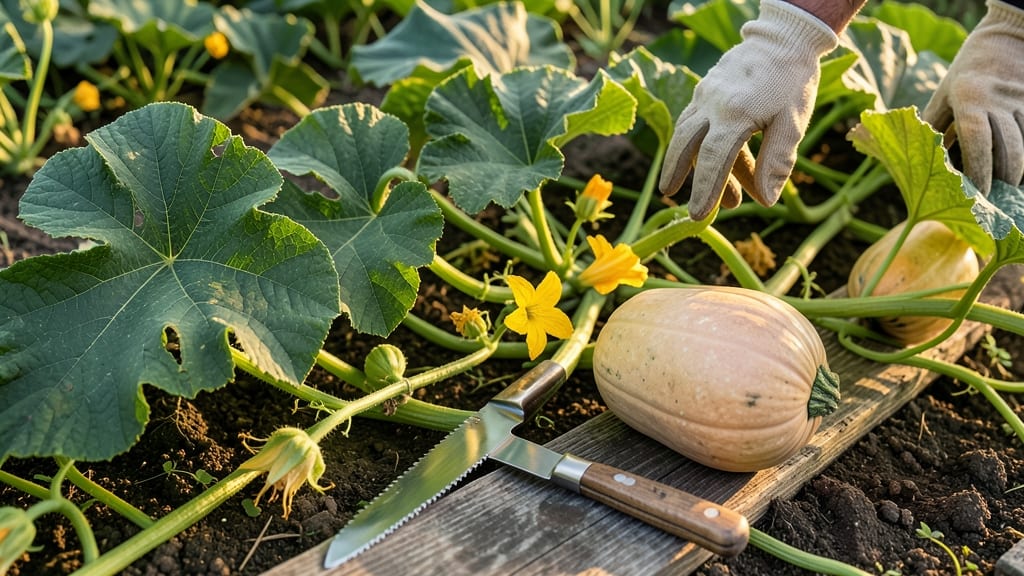
Knowing when to harvest butternut squash from the garden at the right time means the difference between sweet, velvety flesh and tough, waterlogged disappointment—so timing is everything.
Picture this: you’ve nurtured your 🎃 for months, and now the vines are yellowing, but you’re not sure if they’re ready. Too early, and you’ll miss the peak flavor; too late, and frost turns your harvest into mush.
The good news? Three simple cues—skin color, stem changes, and vine behavior—will tell you exactly when to pick for maximum sweetness.
In cooler climates like USDA Zone 6a, late September to early October is prime time, but the real magic happens when you check for those telltale signs. A hard rind, a shriveled stem, and dried vines mean it’s time to harvest before the first frost hits.
Below, I’ll walk you through how to spot these clues and keep your squash fresh for months.
Whether you’re a first-time gardener or a seasoned pro, mastering these three foolproof signs will guarantee a harvest that’s as delicious as it is rewarding. Let’s dive in!
3 Visual signs your butternut squash is ready for harvest (before frost hits)
Timing your butternut squash harvest is crucial—picking too soon means bland, watery flesh, while waiting too long risks frost damage. The key lies in three visual cues that signal peak ripeness.
I’ve learned from experience that ignoring these signs can turn your hard work into a mushy disappointment. Let’s break down exactly what to look for in your garden this fall.
First, pay attention to the skin color near the stem. When ripe, butternut squash develops a tan or beige hue (not the bright orange you see in stores). This color change starts at the neck and spreads downward.
If your squash still has green patches, it’s not ready yet—those areas won’t ripen further off the vine.
Next, check the stem condition. A ripe butternut squash will have a dry, shriveled stem where it attaches to the fruit. If you gently tug and the stem doesn’t snap cleanly but instead pulls away with some resistance, your squash is perfect.
A still-green or moist stem means it needs more time on the vine.
Finally, observe the vine health. When butternut squash is ready, the vines will begin to yellow and die back naturally. This is your plant’s way of telling you it’s redirecting energy to the fruit.
If your vines are still lush and green with new growth, your squash isn’t ready—harvesting early can stunt its flavor development.
🌾 Your Butternut Squash Harvest Checklist
- 1. Skin Color: Tan/beige near stem (not green). The orange color develops fully at maturity.
- 2. Stem Condition: Dry and shriveled where it attaches—should snap cleanly when tugged.
- 3. Vine Health: Yellowed and dying back naturally (no new growth).
- Bonus Tip: Gently tap the squash—if it sounds hollow, it’s ready!
One common mistake I see gardeners make is harvesting based on size alone. While butternut squash typically reach 2-4 pounds at maturity, some varieties stay small but still ripen fully. Always combine size with the three visual cues above.
For example, a 3-pound squash with green skin isn’t ready, but a 2-pound squash with tan skin and a dry stem is perfect.
Another pro tip: Test for doneness by piercing the skin with your fingernail near the stem. If it resists and doesn’t puncture easily, your squash is ripe.
This simple trick saves you from guessing—and from ending up with underripe fruit that stores poorly. I’ve used this method for years, and it’s never failed me.
Don’t forget to harvest in the morning when temperatures are cooler. This reduces stress on the plant and helps the squash heal faster after picking. Use a sharp knife or pruners to cut the stem, leaving a 1-inch stem attachment on the squash.
This small detail makes a big difference in storage life.
Once harvested, let your butternut squash cure in the sun for 10 days to develop its full flavor and toughen its skin. Place them in a dry, warm spot (80-85°F) away from direct sunlight. This curing process is what transforms good squash into exceptional squash that lasts through winter.
If frost threatens before your squash shows these signs, you can harvest slightly early and finish ripening indoors. Place them in a bright, warm spot and check weekly—they’ll continue ripening slowly. Just be patient; rushing the process can lead to uneven ripeness or poor storage quality.
Remember, the earlier you harvest, the more sweet and nutty the flavor becomes. Butternut squash at peak ripeness is a garden treasure—don’t miss your chance to enjoy its full potential! With these three visual cues, you’ll never second-guess your harvest timing again. 🎃
How to harvest butternut squash properly: step-by-step techniques for maximum yield
Harvesting butternut squash at the right moment transforms your garden into a treasure trove of sweet, nutty flavor—but only if you use the proper techniques. A sharp cut, gentle handling, and proper curing can extend storage life from weeks to months.
Whether you're dealing with 30-pound monsters or smaller 5-pound beauties, these steps ensure your harvest stays fresh and delicious.
Start by gathering your tools: a clean, sharp pruning saw or long-handled pruners (for larger squash), a garden fork for lifting, and a basket with soft padding to prevent bruising.
Avoid using knives—they can damage the squash and introduce rot. Work on a dry, sunny day to minimize disease risk and let any moisture evaporate quickly.
Leave 1-2 inches of stem attached to the squash. Use a pruning saw for large squash or pruners for smaller ones. Cut at a 45-degree angle to prevent water pooling.
Use a garden fork to gently loosen soil around the squash’s base. Grasp the stem (not the squash) and lift vertically to avoid stem breaks or skin tears.
Place squash in a soft basket or on a towel-lined surface. Never stack or toss them—bruises = rot. Inspect for soft spots or cuts and discard damaged ones immediately.
Cure squash at 80-85°F and 80% humidity for 7-10 days. Place them in a well-ventilated area (like a garage) and turn occasionally for even curing. Uncured squash lasts 2-3 weeks; cured squash stores for 2-3 months.
Keep cured squash in a cool (50-55°F), dark place with high humidity. Avoid refrigeration—it causes chilling injury and turns flesh mealy. Use a plastic bin with ventilation holes for airflow.
After harvesting, resist the urge to wash your squash until you’re ready to use it—moisture speeds up rot. Instead, brush off dirt with a soft brush or dry cloth. Store squash in a single layer (never stacked) to prevent pressure damage.
If you notice soft spots or mold during storage, remove the affected squash immediately to protect the rest of your harvest.
Pro tip: Label your squash with the harvest date using a permanent marker. This helps you track storage life and ensures you use the oldest squash first. With these techniques, your butternut squash will stay fresh and flavorful long after the garden season ends.
🎃