
How To
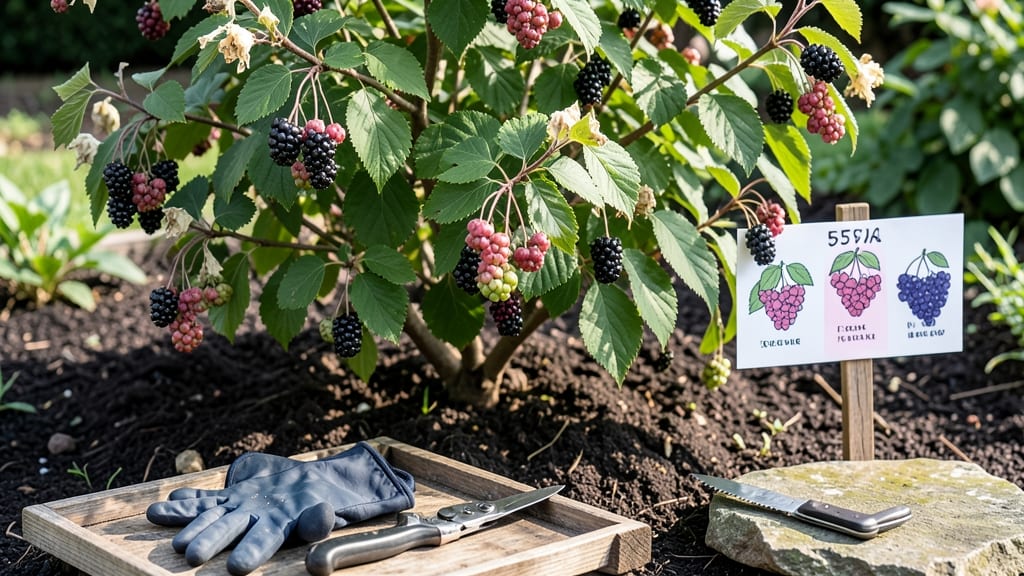
Harvest elderberries when they turn deep purple-black and yield slightly to pressure — that’s the sweet spot for flavor and medicinal benefits 🫐.
If you’ve ever plucked a cluster only to find it tart or mealy, you know timing is everything. The difference between a perfect harvest and a bitter disappointment comes down to three simple tests: color, softness, and whether the birds have already beaten you to them.
In USDA Zone 6, the best window stretches from late August through early September, when the berries ripen just before the first frost. But don’t wait until they’re overripe—those wrinkled, mushy berries lose their sweetness fast.
Below, I’ll walk you through the exact cues to watch for, the best time of day to pick, and how to beat the birds to the harvest. No guesswork, just a foolproof method for peak ripeness every time.

How to tell when elderberries are fully ripe (3 key tests)
Harvesting elderberries at the right moment transforms them from tart to sweet, packed with antioxidants and medicinal benefits. But how do you know when they're truly ripe? Unlike many fruits, elderberries don't ripen after picking, so timing is critical.
I've learned to rely on three simple tests that never fail me: berry color, seed softness, and bird resistance. These natural cues work every time, even for beginners.
The first mistake I made was picking elderberries based on size alone. Some clusters looked full but were still hard and underripe. Others appeared ripe but were overripe and fermenting. That's when I discovered these three foolproof tests.
Mastering them will give you elderberries that are perfect for syrups, jams, or fresh eating. Let's dive into each test so you can harvest with confidence.
Deep purple/black berries with no green
✅ Ready: Uniform deep purple/black color (like ink stains)
❌ Not Ready: Any green or mottled colors mean immaturity
Gentle squeeze reveals ripe seeds
✅ Ready: Berries yield slightly when pressed (like overripe grapes)
❌ Not Ready: Hard berries that don't dent at all
Birds ignore perfectly ripe clusters
✅ Ready: Birds leave clusters alone (they prefer softer berries)
❌ Not Ready: Birds pecking heavily = berries are too firm
Let me explain why the berry color test is your first line of defense. Elderberries start green and gradually darken to a rich, deep purple-black as they ripen. The key is uniformity—if you see any green patches, those berries need more time.
I always compare clusters side by side to catch subtle color differences. A magnifying glass helps spot hidden green spots on dark berries, which can ruin a batch if included in recipes.
The seed softness test is where many gardeners trip up. Ripe elderberries should feel slightly soft, almost mushy, when you gently squeeze them between your fingers. Think of it like testing a grape—if it gives just a little, it's ready.
I learned this the hard way by picking berries that were hard as marbles, only to discover they tasted bitter and astringent. Pro tip: Pick a few berries and taste one to confirm ripeness before harvesting the whole cluster.
Here's where nature does the work for you with the bird resistance test. Birds have a sixth sense for ripe fruit, and they'll devour underripe elderberries first. If you notice birds ignoring certain clusters, those are your sweet spots.
I've found that the ripest berries are often the ones at the top of the plant or in shadier spots, where birds can't reach as easily. This test is especially useful when color and softness tests seem conflicting.
One common question I get is whether to harvest entire clusters or just individual berries. I always recommend taking whole clusters because ripe berries tend to ripen together. If you see a mix of colors in one cluster, it's better to leave it and check back in a few days.
Remember, elderberries don't continue ripening after picking, so patience pays off. I've waited an extra week for perfect ripeness more times than I can count—it's always worth it for that sweet, jammy flavor.
Regional variations can affect ripening times. In cooler climates like USDA Zone 5, elderberries might need until early October to fully ripen, while in warmer Zone 8 areas, they could be ready by mid-August.
I've noticed that morning harvests often yield riper berries because evening dew can make them appear softer than they really are. Always harvest on dry mornings to preserve berry quality and make cleaning easier.
After mastering these three tests, I've never had a bad elderberry harvest. The combination of visual, tactile, and ecological cues creates a foolproof system. Start with color, confirm with softness, and let the birds guide you to the ripest clusters.
When you get it right, you'll know—those deep purple-black berries bursting with sweet-tart flavor are worth every minute of waiting. Now you're ready to harvest like a pro!
🌿
Best time of day and season to harvest elderberries for maximum yield
Harvesting elderberries at the right time of day and season ensures sweetness, vibrant color, and minimal bird damage. The best seasonal window spans from late August through early September, depending on your USDA zone.
In cooler climates like Zone 5-6, berries ripen slightly later, while warmer Zone 7+ regions may see earlier harvests.
For optimal flavor and yield, focus on harvesting between 8 AM and 10 AM on clear, dry mornings. This timing avoids the moisture buildup of evening harvests and the heat stress of midday.
Birds are less active early in the morning, giving you a better chance to collect berries before they’re pecked away.
🌱
| Timing Factor | Ideal Conditions | Why It Matters |
|---|---|---|
| Season | Late August - Early September | Peak ripeness and sweetness |
| Time of Day | 8 AM - 10 AM | Avoids bird damage and heat stress |
| Weather | Clear, dry days | Prevents mold and spoilage |
| Berry Color | Deep purple/black | Indicates full ripeness and sweetness |
| Temperature | 60°F - 75°F | Optimal for handling and processing |
Regional variations play a key role in harvest timing. In northern climates, elderberries may not ripen until mid-September, while southern gardens can start harvesting as early as late July.
Pay attention to local frost dates—you’ll want to finish harvesting before the first fall frost, which can damage both berries and branches.
Evening harvests are possible, but they come with risks. Berries collected after 4 PM may retain moisture, increasing the chance of mold during storage. If you must harvest later, choose dry evenings and spread berries on a screen or tray to dry before storing.
Always prioritize morning harvests for the best results.
Pro tip: Harvest elderberries in small batches every 2-3 days during peak season. This strategy prevents overripe berries from spoiling on the plant and ensures a steady supply of fresh, flavorful fruit for jams, syrups, or teas.
Use pruning shears to snip clusters cleanly, leaving a small stem attached to preserve quality.
🌿