
How To
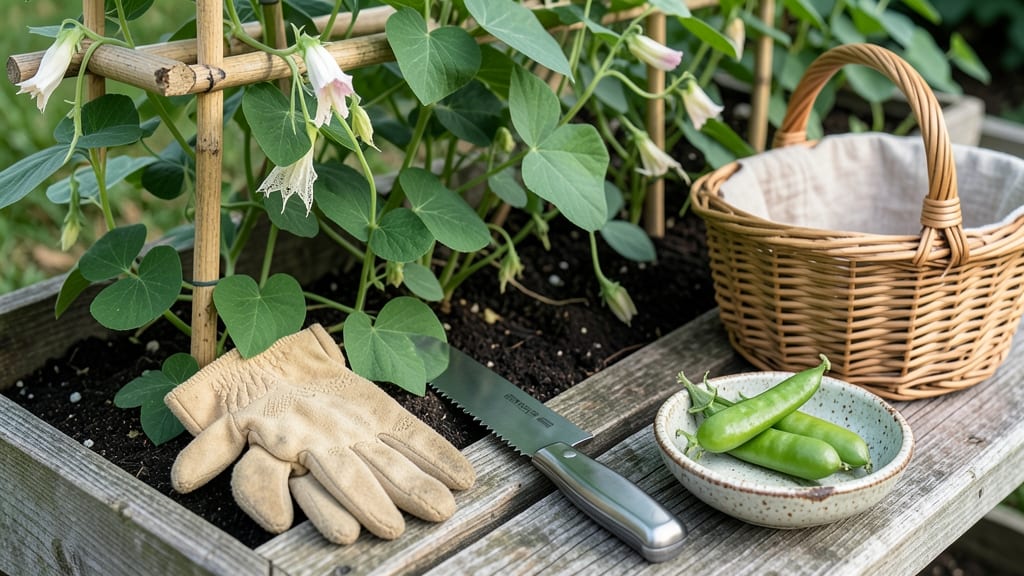
Harvesting pea pods at the right moment turns a simple garden task into a flavor game-changer—wait too long, and you’re left with tough, mealy peas instead of sweet, tender bites.
Pea pods may seem straightforward, but timing their harvest perfectly can mean the difference between sweet, tender peas and tough, bitter ones—here’s how to nail it every time.
You’ll learn the three touch-tests gardeners swear by to check ripeness, plus how climate and variety tweak the ideal window for spring and fall harvests in Zone 6a.
From plump pods to post-harvest care, this guide ensures your peas stay fresh and delicious—no guesswork, just foolproof results.

3 Touch-tests to determine when pea pods are ready for harvest
Pea pods may seem simple, but knowing exactly when to harvest makes all the difference. Overripe peas turn tough and mealy, while underripe pods lack sweetness. The key lies in three simple touch-tests that reveal perfect ripeness without any guesswork.
These methods work for both sugar snap peas and garden peas, ensuring you pick them at their peak flavor and texture.
I’ve used these same tests for years in my garden, and they’ve never failed me. The beauty of these methods is that they rely on your sense of touch rather than complex tools or charts. All you need are your fingers and a little practice.
Whether you're growing dwarf varieties or climbing peas, these tests apply universally. Let’s dive into the foolproof way to determine when your pea pods are ready.
- 1 Pod Size Test: Gently pinch the pea pod length between your thumb and forefinger. Ready pods should measure 2-3 inches long and feel slightly swollen. If they’re smaller, they need more time; if they’re longer, they’ve passed their prime.
- 2 Skin Firmness Test: Press lightly on the pod surface with your fingertip. A ripe pod should yield slightly under pressure but not feel mushy. If it feels tough or hard, it’s underripe; if it’s soft or dented, it’s overripe.
- 3 Snap Test: Hold the pod near the stem and bend it gently. A ripe pea pod should snap cleanly with a slight resistance. If it bends without snapping, it’s too young; if it cracks or feels dry, it’s past its best.
Start by checking your pea pods every 2-3 days once they begin forming. Consistency is key—harvesting at the same time each day encourages your plants to produce more pods. I like to do this in the morning when the pods are firmest and most flavorful.
Pro tip: Use a pair of sharp scissors or pruning shears to snip pods at the stem. This prevents damage to the plant and makes future harvests easier.
Don’t rely solely on color—some varieties stay green even when overripe. The touch-tests are far more reliable. For example, my Sugar Ann peas often turn a dull green when overripe, but the snap test always gives me the truth.
If you’re growing multiple varieties, test a few pods from each to ensure uniformity in ripeness. This method works especially well for fall harvests, where cooler temperatures can slow ripening.
Once you’ve mastered these tests, you’ll notice a dramatic improvement in the tenderness and sweetness of your peas. Over the years, I’ve found that harvesting at the right moment not only improves flavor but also encourages the plant to produce more pods.
It’s a win-win! For best results, store freshly harvested peas in the fridge for up to 5 days or blanch and freeze them for long-term storage. This preserves their freshness and nutritional value.
If you’re new to growing peas, start with dwarf varieties like Little Marvel, as they’re easier to manage and harvest. These compact plants produce pods at ground level, making the touch-tests even simpler. For climbing varieties, use a small step stool to reach higher pods without straining.
Always harvest from the bottom of the plant upward to encourage upward growth and more production. This technique has helped me maximize yields in tight garden spaces.
One common mistake is waiting too long to harvest because the pods look "big enough." But size alone isn’t enough—you need that perfect combination of firmness, snap, and color.
I once left my Oregon Sugar Pod peas too long, and they turned into tough, fibrous pods that were nearly inedible. The lesson? Trust your fingers over your eyes. If you’re unsure, do the snap test—it’s the most reliable indicator of ripeness.
For those growing peas in containers or small spaces, frequent harvesting is even more critical. Since space is limited, you want every pod to be perfect. I’ve seen container-grown peas produce 30% more pods when harvested consistently using these touch-tests.
The key is to check your plants daily once pods start forming. This habit pays off with a steady supply of fresh, sweet peas all season long.
Remember, the goal is to harvest peas when they’re at their peak. With these three touch-tests, you’ll never second-guess ripeness again. Happy harvesting, and may your garden be filled with sweet, tender peas all season! 🌱
Best practices for harvesting pea pods without damaging plants
Harvesting pea pods at the right time ensures sweet, tender peas while keeping your plants productive. The key is to pick pods regularly—every 2-3 days—to encourage more flowers and pods.
Overlooking this step can lead to tough, stringy peas and fewer harvests. I’ve learned that timing and technique make all the difference in maximizing your yield.
Start by using the right tools: a sharp pair of pruning shears or even your fingers work well. Avoid tugging too hard, as this can damage the plant. Instead, grasp the pod gently and twist it free.
This method minimizes stress on the vine while keeping the plant healthy for future harvests. I always harvest in the morning when pods are crisp and full of moisture.
Your harvesting frequency depends on the variety. Dwarf varieties like Sugar Ann produce pods faster than climbing types like Oregon Sugar Pod. Check your plants daily during peak production to avoid missing the perfect window.
Remember, the goal is to pick pods when they’re plump but before the peas inside grow too large.
⚠️ Pro Tip for Perfect Harvest Timing
Pea pods are ready when they’re 2-3 inches long and bright green. Press gently—if the pod yields slightly but doesn’t feel mushy, it’s prime! Harvesting at this stage ensures the sweetest flavor and encourages more pods to form. Never wait until pods turn yellow—this means they’re past their prime.
After harvesting, handle pods with care to preserve their freshness. Store them in the refrigerator for up to 5 days in a perforated bag to maintain crispness. For long-term storage, blanch and freeze pods to lock in flavor.
I’ve found that shelling peas immediately after harvest and freezing them in batches saves time later. This method works especially well for fall harvests when you might have an abundance of pods.
Encourage continuous production by removing spent pods and flowers. This redirects the plant’s energy toward new growth. If you notice fewer flowers appearing, try adding a light fertilizer with a 5-10-10 NPK ratio to boost productivity.
I’ve seen a noticeable difference in yield after applying this simple trick during the growing season.
Finally, keep an eye out for pests like aphids or pea weevils, which can damage pods and reduce harvests. A strong spray of water or neem oil can help deter these pests without harming your plants.
Regular monitoring ensures your pea plants stay healthy and productive throughout the season. With these practices, you’ll enjoy a steady supply of fresh, sweet peas all season long!