
How To
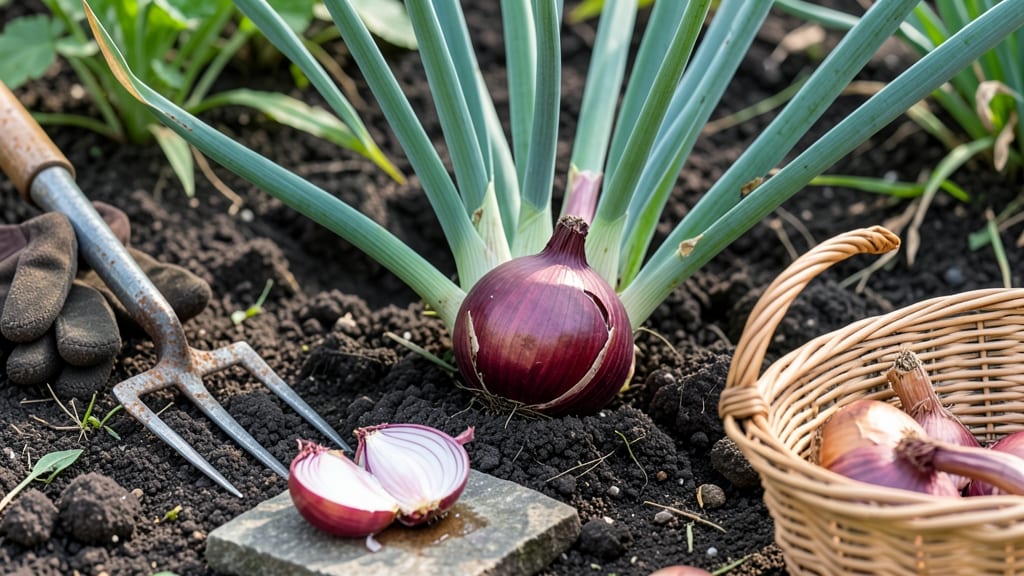
Harvesting red onions at the right time means the difference between sweet, tender bulbs and tough, bitter rejects.
Picture this: you’ve nurtured your 🧅 through spring, and now the tops are yellowing—but is it too late? Or too soon? The key is catching them at that perfect window, right before the bulbs harden.
Miss it, and you’re left with onions that won’t store well or taste half as good.
Below, I’ll walk you through three tactile tests to pull them at peak flavor, plus how planting season (spring vs. fall) shifts your harvest timeline. No more guessing—just crisp, pungent onions ready for the kitchen.
You’ll also learn how to avoid common mistakes that turn great harvests into wasted effort, like storing them too soon or leaving them in the ground past their prime.


3 Tactile tests to harvest red onions at peak flavor
Harvesting red onions at the perfect moment transforms your garden into a flavor factory. The difference between a tender, juicy bulb and a dry, pungent mess often comes down to tactile cues you can feel with your hands.
These three simple tests—leaf browning, root ball size, and stem flexibility—will help you pull onions when they're at their peak, before they lose moisture and turn tough.
I’ve learned the hard way that waiting too long means sacrificing sweetness for bitterness. Overripe onions not only lose their delicate balance of flavors but also become woody and less versatile in the kitchen.
By using these hands-on checks, you’ll ensure every onion you harvest is firm, flavorful, and ready to store for months. Grab your gardening gloves and let’s dive into the tactile secrets of red onion perfection.
🌱 Numbered Highlights: 3 Tactile Tests for Harvest-Ready Red Onions
-
Test 1: Leaf Browning
Gently grasp the topmost leaves—if 50% are yellow-brown and crispy to the touch, it’s time to harvest. Green leaves mean the bulb is still growing. -
Test 2: Root Ball Size
Dig around the base—if the bulb is 1-2 inches wide and the roots are tightly packed, the onion is ready. Smaller bulbs need more time. -
Test 3: Stem Flexibility
Bend the top leaves—if they snap easily (not bend), the bulb is fully mature. Flexible stems mean it’s not ready yet.
✅ All 3 tests passed? Harvest within 24-48 hours to lock in flavor!
Start with the leaf browning test—this is often the first sign that your red onions are nearing harvest. I recommend checking this weekly once the tops start to yellow. The browning occurs because the plant is redirecting nutrients from the leaves to the bulb.
If you see more than half the leaves turning brown, it’s a clear signal to act quickly. Pro tip: Use a pair of clean gardening shears to snip the tops about an inch above the bulb to encourage full bulb development.
Next, focus on the root ball size. A mature red onion bulb should feel firm and dense when you gently squeeze it. If it’s still small (under 1 inch in diameter), give it another week or two.
I’ve found that bulbs grown in well-draining soil with consistent moisture tend to reach the ideal size faster. If your soil is heavy or waterlogged, the roots may struggle to develop properly, leading to smaller harvests.
The stem flexibility test is my favorite because it’s a quick way to confirm maturity without digging. Simply grasp the top leaves and bend them gently. If they snap cleanly (like dry straw), your onion is ready. If they bend without breaking, it’s not quite time.
This test works especially well for fall-planted onions, which often mature faster in cooler weather. Remember, the goal is to harvest before the tops flop completely—once they hit the ground, the bulb starts to dry out and lose flavor.
Timing your harvest correctly also depends on your climate zone. In warmer regions (like USDA Zone 8+), red onions may mature in as little as 90 days, while cooler zones (like Zone 5) might need up to 120 days.
I’ve had the best luck with spring-planted onions in my Zone 6 garden, harvesting them in early July. For fall plantings, aim to harvest before the first frost—typically in late October—unless you’re in a mild-winter zone.
One common mistake I’ve seen (even among experienced gardeners) is harvesting in wet conditions. Onions pulled from soggy soil won’t dry properly and are prone to rot. Always harvest on a dry, sunny day to ensure the bulbs can cure correctly.
After pulling, let them dry in the sun for 2-3 hours before storing. This step is crucial for preventing mold and extending shelf life. I like to lay them out on a clean wire rack or a piece of newspaper in a shaded spot to dry evenly.
If you’re growing red onions in containers or raised beds, keep an extra-close eye on them. Container-grown onions often mature faster due to the warmer soil temperatures.
I’ve successfully grown red onions in 5-gallon buckets with great results, but I harvest them about 10-14 days earlier than in-ground plants. The key is to monitor the leaf browning test more frequently when growing in containers, as they can dry out quicker.
For those who love to extend their harvest season, consider planting a second crop in late summer. Fall-planted red onions often produce sweeter, milder bulbs because they mature in cooler weather.
Just remember to adjust your harvest timing—fall onions may only need 60-80 days to reach maturity. Use the same tactile tests, but be ready to harvest sooner than your spring crop.
Finally, don’t overlook the neck of the bulb—this is where many gardeners miss the boat. A fully mature red onion will have a tight, papery neck where the leaves meet the bulb. If you can see daylight through the neck, it’s time to harvest.
This tightness indicates that the bulb has stopped growing and is ready to be pulled. Ignore this cue, and you’ll end up with onions that split open or become hollow.
Red onion harvest timing by planting month: a seasonal guide
Timing your red onion harvest depends entirely on when you planted them—spring or fall—and your local climate zone. Spring-planted onions mature in 90-120 days, while fall-planted varieties need 100-120 days before frost.
In USDA Zone 6a, this means spring harvests in July-August and fall harvests in October-November. Adjust these windows by ±10 days for cooler or warmer zones.
For spring planting (March-April), aim to harvest when 60% of tops yellow and bulbs reach 1-2 inches in diameter. Fall planting (August-September) requires earlier harvests to avoid freeze damage. Use a moisture meter to confirm soil temps stay above 50°F—cold soil slows maturation.
📋 SUMMARY-TABLE: Harvest Timing by Planting Month
| Planting Month | Days to Maturity | Harvest Window | Storage Life |
|---|---|---|---|
| March-April (Spring) | 90-120 days | July-August | 3-5 months (cool, dry) |
| August-September (Fall) | 100-120 days | October-November | 2-3 months (shorter shelf) |
| February (Early) | 120-150 days | June-July | 4-6 months (best quality) |
Extend storage life by curing harvested onions for 2-3 weeks in a shady, dry spot (60-70°F). Braid or weave them to improve airflow and prevent rot. For longer storage, store in mesh bags at 40-50°F—never refrigerate until fully cured, or they’ll spoil faster.
In warmer climates (Zones 8-10), plant fall onions in September for harvest before winter rains. Use shade cloth if temps exceed 90°F—heat causes bolting. For cooler zones (4-5), opt for short-day varieties like 'Red Baron' to mature faster.
Watch for over-mature signs: tops fully brown and flop, bulbs split, or skin cracks. These onions lose sweetness and store poorly. Harvest early if your area gets unpredictable rain—wet bulbs rot quickly.
Always use a sharp knife to cut tops to 1 inch above the bulb for best regrowth.
Pro tip: Plant succession crops every 2 weeks in spring for staggered harvests. This ensures a steady supply and prevents bulk spoilage from overripe onions. Store extras in well-ventilated containers away from potatoes (ethylene gas speeds decay).