
Vegetables
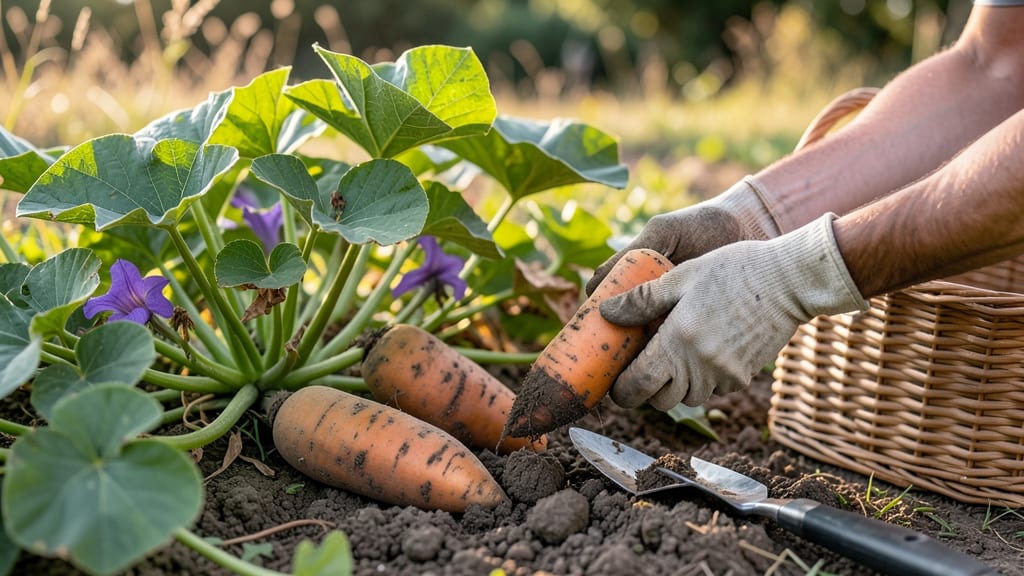
Harvesting sweet potatoes in Florida at the right time means the difference between a sweet, starchy tuber 🍠 and a tough, woody mess.
Picture this: You’ve spent months nurturing your sweet potato plants, and now the vines are yellowing—but is that a sign to dig? Or are you waiting too long? Too early, and you’ll get small, underdeveloped tubers. Too late, and the flavor fades, leaving you with roots that feel like rubber.
Florida’s long growing season (think 90 to 120 days) means timing is everything. The key is watching for skin slips—when the skin peels away easily—and doing a simple soil test for resistance.
These tricks help you pull them at peak sweetness, just before the first frost (which, let’s be honest, is rare but possible in North Florida).
In this guide, I’ll walk you through the exact signs to watch for, how to test for readiness, and what to do once you’ve got them out of the ground—so you end up with a harvest that’s sweet, firm, and ready to store for months.

How to tell when sweet potatoes are ready to harvest in Florida
Florida’s long growing season gives sweet potatoes plenty of time to mature—but knowing the exact moment to harvest makes all the difference. Unlike northern climates, Florida’s warm winters and humid summers create unique challenges. Harvest too early, and your tubers will be small and starchy.
Wait too long, and they’ll become tough and woody. The key lies in watching for three critical signs: vine dieback, skin changes, and soil resistance.
Most Florida sweet potato varieties take 90–120 days to reach peak harvest readiness, typically landing between October and December. However, early varieties like 'Beauregard' may mature sooner (around 90 days), while late varieties like 'Covington' can stretch to 120 days.
Understanding these differences helps you avoid common mistakes, like assuming all sweet potatoes ripen at the same time.
Here’s how to compare the key indicators for early vs. late varieties—so you can pull them at the perfect moment for maximum sweetness and storage potential.
| Indicator | Early Varieties (90 Days) | Late Varieties (120 Days) | Action to Take |
|---|---|---|---|
| Vine Color | Yellowing begins at 80 days | Yellowing begins at 100 days | Monitor daily; harvest when 50% of vines are yellow |
| Skin Slip Test | Skin slips easily at 3–4 inches | Skin slips at 4–6 inches | Gently dig near vines to check tuber size |
| Soil Resistance | Firm at 2–3 inches deep | Firm at 3–4 inches deep | Push finger into soil; resistance means tubers are ready |
| Leaf Drop | 30–40% drop by harvest time | 50–60% drop by harvest time | Harvest within 3–5 days of significant leaf drop |
| Tuber Size | 2–3 inches in diameter | 3–5 inches in diameter | Smaller tubers = harvest earlier; larger = wait longer |
The vine dieback is your first warning sign. When 50% of the vines turn yellow and start drying out, it’s time to act. This usually happens 2–4 weeks before the tubers are fully mature.
For early varieties, this might be as soon as late September, while late varieties could drag into December. Pro tip: Don’t wait for 100% vine death—that’s a sign you’ve missed the sweet spot.
Next, perform the skin slip test, a foolproof method to check tuber readiness. Gently grasp a vine near the soil and pull upward. If the tuber slips free with minimal resistance, it’s ready. If it stays firmly attached, wait another 5–7 days.
Florida’s sandy soils make this test especially reliable because they don’t compact like clay, so you’ll get an accurate read on tuber size and firmness.
For a deeper check, use the soil resistance test. Push your finger 2–3 inches into the soil near the vine. If you feel firm resistance (like pressing into a firm sponge), the tubers are ready. If the soil feels loose or crumbly, they need more time.
This test is crucial in Florida’s humid climate, where overwatering can delay maturity. Adjust your watering schedule in the final 30 days to let the soil firm up naturally.
One mistake I see often is ignoring variety-specific timing. Early varieties like 'Georgia Jet' mature faster and can handle Florida’s heat better, while late varieties like 'Bonita' need the extra time to develop sweet, dense flesh.
Always check the seed packet or plant tag for days to maturity, then adjust your harvest window accordingly. For example, if you planted 'Beauregard' in April, aim for a harvest in late June to early July—but watch for vine yellowing first.
Florida’s hurricane season adds another layer of complexity. If a storm is forecasted, harvest 2–3 days before the predicted landfall, even if the tubers aren’t perfectly ripe. Storms can flood fields or knock over vines, leading to rot or damage.
After the storm passes, wait 1–2 weeks to reassess vine health before harvesting. If the vines are still green and growing, the tubers likely
Best harvest methods for Florida’s humid climate to avoid spoilage
Once your sweet potatoes show those telltale signs of readiness, Florida’s humidity and heat demand a careful harvest approach. Rushing or mishandling tubers in these conditions can lead to rapid spoilage or pest damage.
The key is to dig at the right moment, handle them gently, and cure properly to lock in flavor and shelf life.
Start by choosing a dry, sunny day—Florida’s frequent rain can make soil too wet for clean digging. Wait until morning when temperatures are cooler (below 85°F) to reduce stress on the tubers.
Use a broadfork or digging fork to loosen soil gently around the plants, avoiding deep punctures that bruise the roots.
Here’s my step-by-step method for harvesting sweet potatoes in Florida’s climate:
Harvest when 60-70% of vines have yellowed and dried—this usually happens 90-120 days after planting in Florida’s warm zones.
Gently insert a broadfork 6-8 inches deep around the plant’s base to avoid piercing tubers. Work in a star pattern outward.
Grasp the vine stems and lift gently—Florida’s loose soil often releases tubers easily. If stuck, use a pitchfork to lift soil, not the tubers.
Rub tubers lightly with your hands to remove dirt—never use water or a hose, as moisture speeds up rot in Florida’s humidity.
Place tubers in a well-ventilated box at 85°F and 80% humidity for 5-10 days. Florida’s natural heat helps, but avoid direct sunlight.
After curing, store tubers in a 55-60°F space with 60-70% humidity. Use wooden crates or mesh bags to prevent bruising.
Florida’s humidity is your biggest enemy after harvest, so inspect tubers daily for soft spots or mold. Discard any damaged ones immediately to prevent spread. For long-term storage, keep them in a cool, dark basement or root cellar—many Florida gardeners even store them in unheated garages during winter.
Pro tip: If you’re harvesting late in the season (October-December), watch for hurricane warnings. Dig and cure tubers 24-48 hours before rain to avoid waterlogged soil and rot. With these methods, your sweet potatoes will stay sweet and spoilage-free for months—perfect for Florida’s long growing season! 🍠