
Vegetables
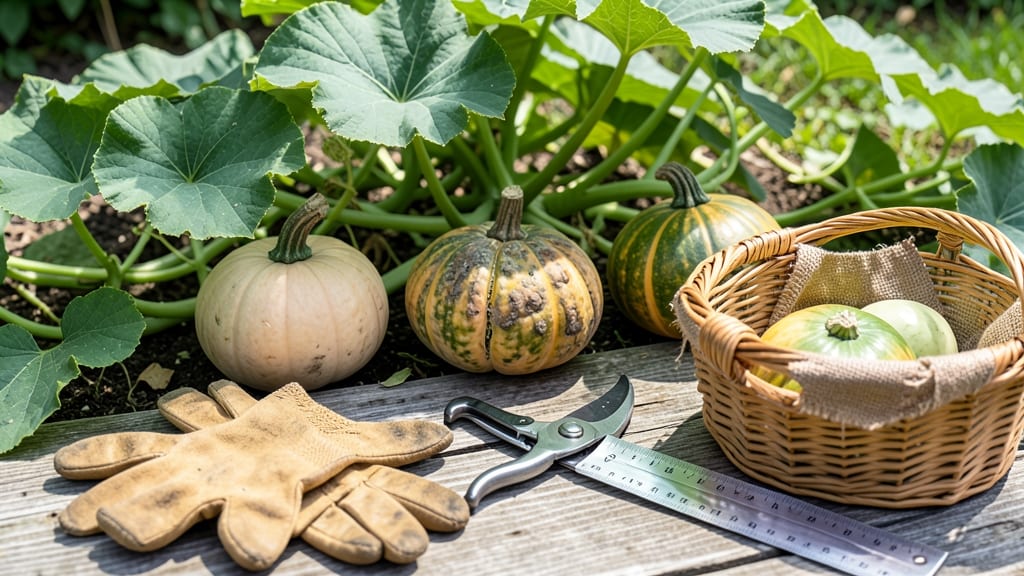
Harvesting winter squash at the right time means the difference between a sweet, flavorful harvest and a tough, mealy disappointment—so how do you know when to harvest your 🎃?
Picture this: you’ve spent months tending to your winter squash plants, watching them grow from tiny seedlings to sprawling vines heavy with fruit. But if you pull them off too early, they won’t ripen properly, and if you wait too long, the flavor and texture suffer.
The key is knowing the exact signs—like seed color shifts and skin hardness—that tell you it’s time to harvest.
Most gardeners rely on two foolproof methods: checking the seed color inside the squash (it should turn from white to tan or brown) and testing the skin’s hardness (a ripe squash won’t dent when pressed with a thumbnail).
These tricks work for varieties like butternut, acorn, and pumpkin, but timing can vary slightly depending on your climate and the specific type of squash you’re growing.
In this guide, I’ll walk you through the best ways to determine ripeness, regional considerations for Zone 6a gardeners, and how to store your harvest so it lasts through the winter. No more guesswork—just perfect, ready-to-eat winter squash every time.
How to tell when winter squash is ready by seed color changes
One of the most reliable ways to determine if your winter squash is ready for harvest is by watching the seed color inside the fruit. Unlike summer squash, winter varieties develop hard seeds that shift from white to tan or brown when fully mature.
This subtle but critical change signals peak ripeness and sweetness—so pay close attention!
Not all winter squash varieties follow the same timeline for seed color changes. For example, butternut squash may take 90-100 days after flowering to reach this stage, while acorn squash often matures faster, around 80-90 days.
Understanding these differences helps you avoid harvesting too early or too late, both of which can ruin flavor and texture.
Environmental factors like temperature and sunlight also influence seed color development. Cooler nights can slow the process, while hot, sunny days may speed it up. If your garden experiences unusually warm fall weather, seeds might darken more quickly—so check your squash frequently during these conditions.
Here’s a quick breakdown of what to expect for popular varieties, including the seed color transition and harvest window after flowering:
| Squash Variety | Seed Color Transition | Typical Harvest Window (Days After Flowering) | Key Visual Cues |
|---|---|---|---|
| Butternut | White → Light tan | 90–100 days | Rind hard, stem dry |
| Acorn | White → Golden-brown | 80–90 days | Skin deep color, leaves yellowing |
| Pumpkin | White → Dark brown | 100–120 days | Vines dying back, rind tough |
| Hubbard | White → Creamy tan | 100–110 days | Rind cannot be dented, stem woody |
To check the seed color, you’ll need to cut open a small section of the squash—usually near the stem end where the seeds are most concentrated.
Look for the transition from white to tan or brown; this indicates the seeds are fully developed and the squash is at its sweetest. If the seeds are still white, give it another 5-7 days before checking again.
One common mistake is assuming all winter squash follow the same seed color timeline. For instance, delicata squash often matures faster than butternut, with seeds turning tan in as few as 75-85 days.
Always cross-reference seed color with other ripeness signs, like skin hardness and stem drying, to confirm readiness.
If you’re growing squash in a shorter growing season or cooler climate, seed color changes may happen later in the season. In these cases, prioritize harvesting when the seeds reach the expected tan or brown stage, even if the squash isn’t at its maximum size.
A smaller, fully ripe squash will store better and taste sweeter than an overgrown, underripe one.
Pro tip: Keep a harvest journal to track seed color changes year after year. Note the exact day seeds turned tan or brown, along with weather conditions. Over time, you’ll spot patterns—like how early frosts or hot spells affect ripening—and adjust your harvest timing accordingly.
Once you’ve confirmed the seeds have darkened, it’s time to harvest! Use a sharp knife or pruners to cut the squash from the vine, leaving a 1-2 inch stem attached.
This helps prevent rot during storage. Store your squash in a cool, dry place (50–55°F) for up to 3–6 months, depending on the variety.
Remember, the seed color shift is just one piece of the puzzle. Pair it with the skin hardness test (covered in the next section) for foolproof results. With these two methods, you’ll never miss the perfect harvest window again!
The skin hardness test: how to check ripeness without cutting
Winter squash like butternut and acorn won’t ripen further after harvest, so testing skin hardness is critical. The thump test and nail scratch method reveal ripeness without damaging the fruit. These simple techniques help you avoid the mealy texture of overripe squash or the underdeveloped flavor of early harvests.
Start by selecting a mature-looking squash with fully developed color. Use your fingernail to gently press the skin—if it doesn’t puncture, it’s likely ready. For larger varieties like pumpkins, the thump test works best: tap the squash gently with your knuckle.
A deep, hollow sound signals ripeness, while a dull thud means it needs more time.
⚠️ WARNING: Common Harvest Mistakes ⚠️
⚠️ Don’t wait until seeds turn black (overripe = poor flavor)
⚠️ Check hardness in multiple spots—uneven skin can indicate disease
The stem separation test is another foolproof method. Gently twist the fruit’s stem—if it snaps cleanly with no resistance, the squash is ready. A green, flexible stem means it’s too early, while a dry, brittle stem suggests it’s past its prime. This test works best in morning sunlight, when stems are less flexible.
For heirloom varieties, combine tests for accuracy. For example, a butternut squash should pass both the nail scratch and thump test before harvesting. Acorn squash, with its thinner skin, may require a softer touch—press lightly to avoid bruising.
Always harvest on a dry day to prevent rot during curing.
Uneven skin hardness? This could signal uneven ripening or nutrient deficiencies. Check the soil moisture and fertilizer levels—consistent care ensures even maturation.
If one side feels softer, wait a few days before testing again. Premature harvesting leads to poor storage life, while overripe squash develops a hollow center and bitter taste.
Once you’ve confirmed ripeness, use a sharp pruner to cut the stem, leaving a 1-inch stem attachment. Cure your squash in a warm, dry place (80–85°F) for 10 days to develop full flavor.
Proper curing turns butternut squash from pale to deep orange and acorn squash into a glossy, golden hue.